
Roast all the vegetables over an open flame, grill, or in a dry skillet. You’re aiming for a deep char on the skin—blackened and blistered—but take care not to burn the garlic as it will turn bitter.
Step 2: Grind Garlic and Onion First
Add the garlic cloves and onion into your molcajete. Grind them into a paste. This slow process releases their essential oils and forms the flavorful base of the salsa.
Step 3: Add the Chiles
Add the serranos, jalapeños, and chile manzano gradually. Grind them thoroughly until fully incorporated into the paste.
Step 4: Add Tomatoes
Grind in the roasted tomatoes. You can keep the texture chunky or smooth depending on your preference. The tomatoes bring balance and body to the salsa.
Step 5: Season and Rest
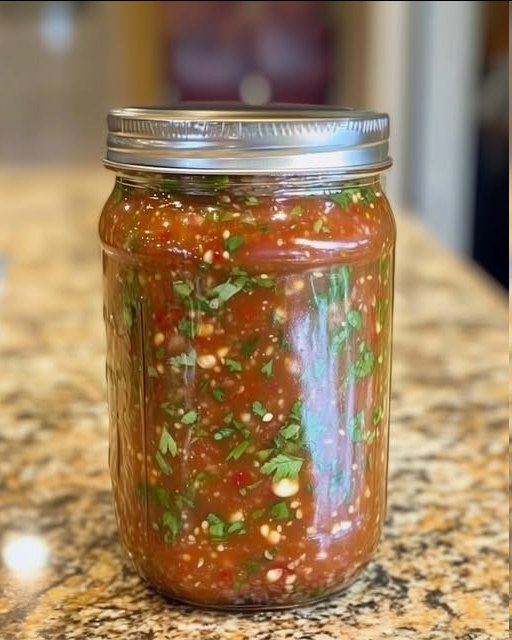
Stir in kosher salt to taste and let the salsa rest for a few minutes to allow the flavors to blend.
Serving Suggestions
This salsa is the perfect match for:
Grilled carne asada or pollo asado
Breakfast tacos or burritos
Chilaquiles or huevos rancheros
Tortilla chips as a dip
Roasted vegetables or grilled corn
Storage Tips
Store any leftover salsa in an airtight container in the refrigerator for up to 3 days. The flavor intensifies overnight. You can freeze it in small portions, though the texture is best enjoyed fresh.
Why Use a Molcajete?
A molcajete provides a coarse, rustic texture and a distinctive earthy flavor that a blender simply can’t replicate. This grinding method also helps preserve the integrity of each ingredient.
Investing in a quality volcanic stone molcajete is worthwhile—it’s durable, traditional, and a beautiful addition to any kitchen rooted in authentic Mexican cooking.
Final Thoughts
Whether you’re preparing for a summer BBQ or seeking a spicy companion for your winter comfort foods, Salsa De Molcajete Picosa delivers bold flavor with every bite. Ground by hand and made with care, this salsa is as much about heritage as it is about heat.
Asa todas las verduras a fuego vivo, a la parrilla o en una sartén seca. El objetivo es que la piel quede bien carbonizada (negra y ampollada), pero ten cuidado de no quemar el ajo, ya que amargará.

Yo Make również polubił
Przepis na ciasto chlebowe z ziarnami
Tylko 2 filiżanki dziennie przez 1 tydzień i będziesz potrzebować mniejszych ubrań!
Patatas rellenas estilo raclette gourmet
Orzechowe Smoothie pełne zdrowia – Idealne przepisy na każdą okazję